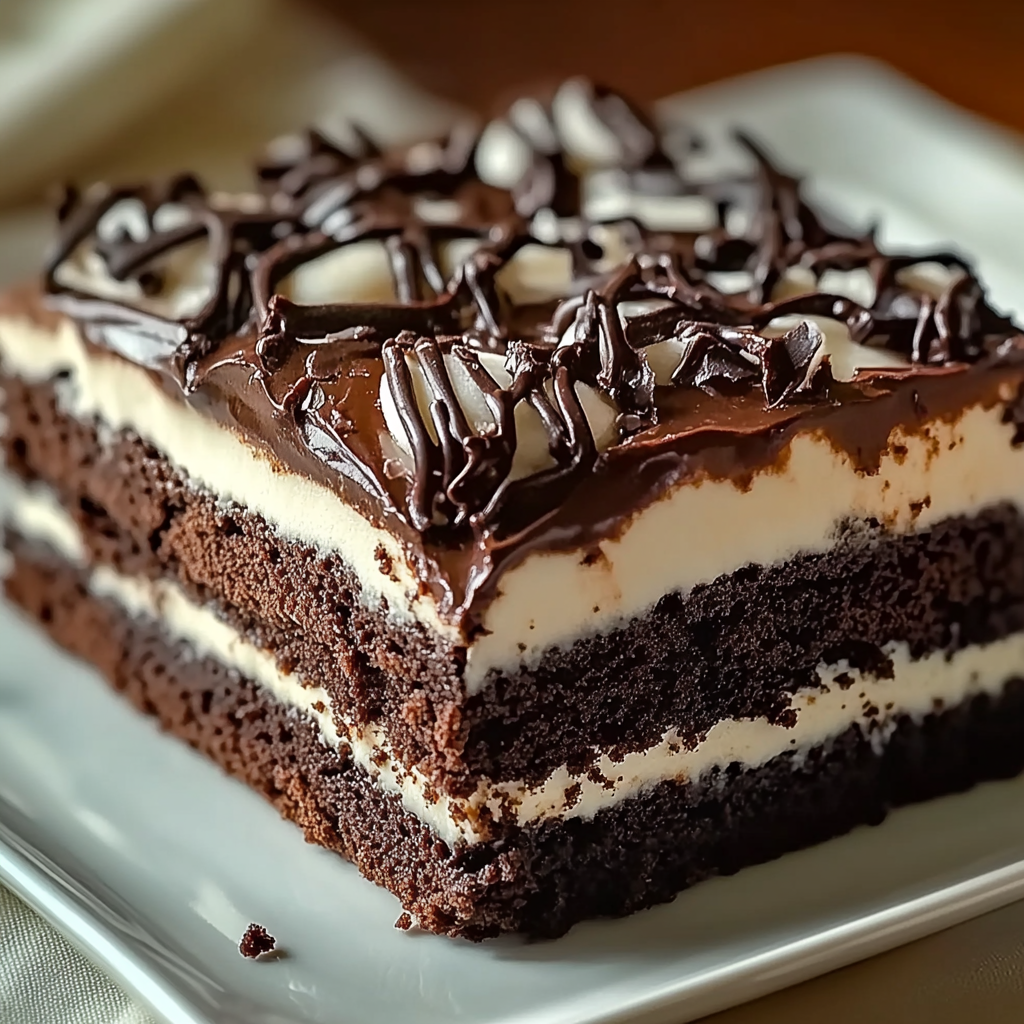
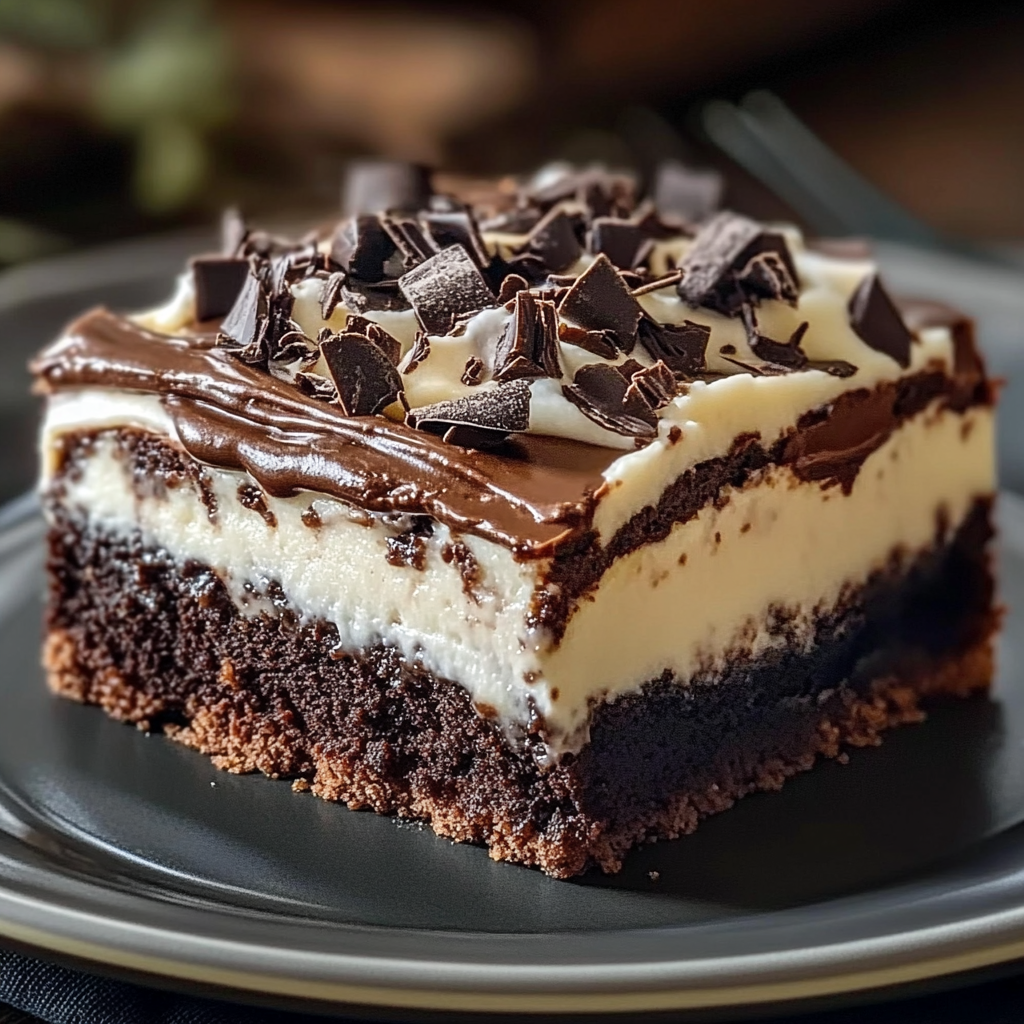
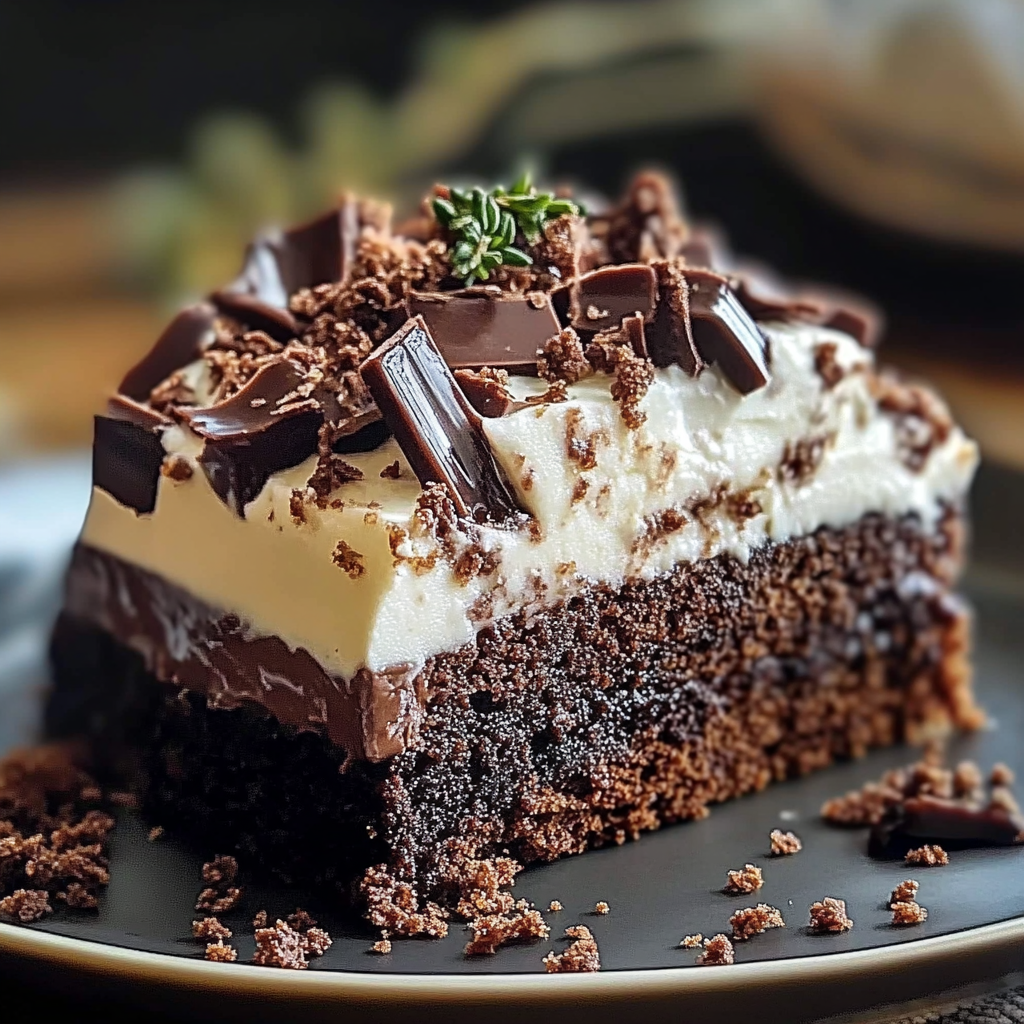
There’s something magical about a dessert that combines the rich, fudgy goodness of brownies with the chill of a refrigerator cake. Imagine sinking your teeth into layers of creamy chocolate and delightful textures that make your taste buds dance like nobody’s watching. Brownie Refrigerator Cake is not just a treat it’s an experience that transforms any gathering into a memorable feast.

I vividly remember the first time I made this decadent delight. My friends and I were having a movie marathon, and, in true snack-obsessed fashion, I decided to whip up this cake. The excitement in the room was palpable as everyone eagerly anticipated each layer melting in their mouths. Perfect for birthdays, potlucks, or those “just because” moments, this cake promises to deliver deliciousness every time.
Why You'll Love This Recipe
- This Brownie Refrigerator Cake is incredibly simple to prepare and perfect for any occasion
- With its rich chocolatey flavor, it looks stunning on any dessert table
- It can be customized with your favorite toppings or fillings to suit all tastes
- You’ll find it hard to resist going back for seconds (or thirds)
The first time I served this cake, my friends declared it the highlight of our gathering, with some even asking for leftovers.
Essential Ingredients
Here’s what you’ll need to make this delicious dish:
- Brownie Mix: Choose your favorite boxed mix or bake from scratch both options yield mouthwatering results.
- Cream Cheese: Softened cream cheese adds a tangy richness that complements the chocolate beautifully.
- Whipped Topping: A light and fluffy topping makes each bite feel like a cloud of sweetness.
- Chocolate Syrup: Drizzle on top for extra chocolaty goodness it’s like icing on the cake.
- Chopped Nuts (optional): Use walnuts or pecans for added crunch and flavor contrast.
For the Toppings:
- Chocolate Chips: Sprinkle on top for an irresistible finish that enhances both flavor and presentation.
- Cocoa Powder: Dust lightly over the top for a sophisticated look and added chocolate flair.
The full ingredients list, including measurements, is provided in the recipe card directly below.
Let’s Make it together
Prepare Your Brownies: Start by baking your brownie mix according to package instructions. Allow them to cool completely before proceeding to ensure neat layering.
Create the Cream Cheese Layer: In a mixing bowl, beat softened cream cheese until smooth. Gradually add whipped topping and mix until well combined and airy this will be your luscious filling.
Layering Time: Cut cooled brownies into squares. In a rectangular dish, layer half of the brownie squares at the bottom. Spread half of the cream cheese mixture over them evenly.
Add More Layers: Repeat with another layer of brownie squares followed by the remaining cream cheese mixture. Smooth out the top layer nicely for visual appeal.
Chill Out: Cover your masterpiece with plastic wrap and refrigerate for at least 4 hours or overnight if you can resist digging in sooner.
Top It Off: Before serving, drizzle chocolate syrup generously over the top and sprinkle chopped nuts and chocolate chips as desired a finishing touch that elevates your dessert game.
With just these steps, you’ll have created a show-stopping Brownie Refrigerator Cake that’s sure to impress everyone around you. The anticipation as you slice into it will be worth every second spent waiting.
You Must Know
- This delicious brownie refrigerator cake combines rich chocolate flavor with a creamy texture
- The layers meld together beautifully, creating a dessert that’s perfect for any occasion
- Best of all, it requires no baking and is incredibly easy to assemble, making it a go-to recipe for busy days
Perfecting the Cooking Process
Start by preparing your brownie mix as directed, then allow it to cool completely before layering with cream cheese frosting. This ensures each layer sets perfectly without becoming a melty mess.
Add Your Touch
Feel free to swap the cream cheese frosting for whipped cream or add layers of fresh fruit like strawberries or raspberries for an exciting twist on flavor and texture.
Storing & Reheating
Store the brownie refrigerator cake in an airtight container in the fridge for up to five days. There’s no need to reheat serve it cold for the best experience.
Chef's Helpful Tips
- To achieve a fudgy texture, avoid overbaking the brownies they should be slightly underdone
- Use room temperature ingredients for your frosting to ensure smooth mixing
- Chill between layers for better structure when assembling your cake
Sharing this brownie refrigerator cake recipe always sparks joy among my friends during gatherings, especially when they ask me how I made such an indulgent treat with minimal effort.
FAQ
What makes brownie refrigerator cake unique?
Brownie refrigerator cake is unique due to its layered structure and no-bake approach, making it simple and delicious.
Can I use store-bought brownies?
Absolutely. Store-bought brownies can save time while still creating a delicious layered dessert.
How do I know when it’s ready to serve?
Let the cake chill in the fridge for at least four hours before serving to ensure perfect layering and flavor melding.
Brownie Refrigerator Cake
- Total Time: 50 minutes
- Yield: Approximately 12 servings 1x
Description
Indulge in the luscious layers of our Brownie Refrigerator Cake, where rich, fudgy brownies meet a creamy, dreamy filling. This no-bake dessert is perfect for any occasion, transforming gatherings into memorable feasts. With its delightful textures and customizable toppings, this cake promises to be a crowd-pleaser. Whip it up effortlessly and watch as it disappears from your dessert table!
Ingredients
- 1 box brownie mix (9x13 inch)
- 8 oz cream cheese, softened
- 1 cup whipped topping
- 1/2 cup chocolate syrup
- 1/2 cup chopped nuts (optional)
- 1/2 cup chocolate chips (for toppings)
- 1 tbsp cocoa powder (for toppings)
Instructions
- Bake the brownie mix according to package instructions; allow to cool completely.
- In a mixing bowl, beat softened cream cheese until smooth. Gradually fold in whipped topping until airy.
- Cut cooled brownies into squares. Layer half in a rectangular dish, followed by half of the cream cheese mixture.
- Repeat with another layer of brownie squares and the remaining cream cheese mixture; smooth the top.
- Cover with plastic wrap and refrigerate for at least 4 hours or overnight.
- Before serving, drizzle with chocolate syrup and sprinkle with chopped nuts and chocolate chips.
- Prep Time: 20 minutes
- Cook Time: 30 minutes
- Category: Dessert
- Method: No-bake
- Cuisine: American
Nutrition
- Serving Size: 1 slice (150g)
- Calories: 280
- Sugar: 25g
- Sodium: 150mg
- Fat: 15g
- Saturated Fat: 7g
- Unsaturated Fat: 8g
- Trans Fat: 0g
- Carbohydrates: 32g
- Fiber: 2g
- Protein: 4g
- Cholesterol: 30mg
Keywords: - For added flavor, swap cream cheese with whipped cream or add layers of fresh fruit like strawberries or raspberries. - Store leftovers in an airtight container in the fridge for up to five days; serve cold for best taste.